35mm Converted to Digital – Flowers On Film
Images
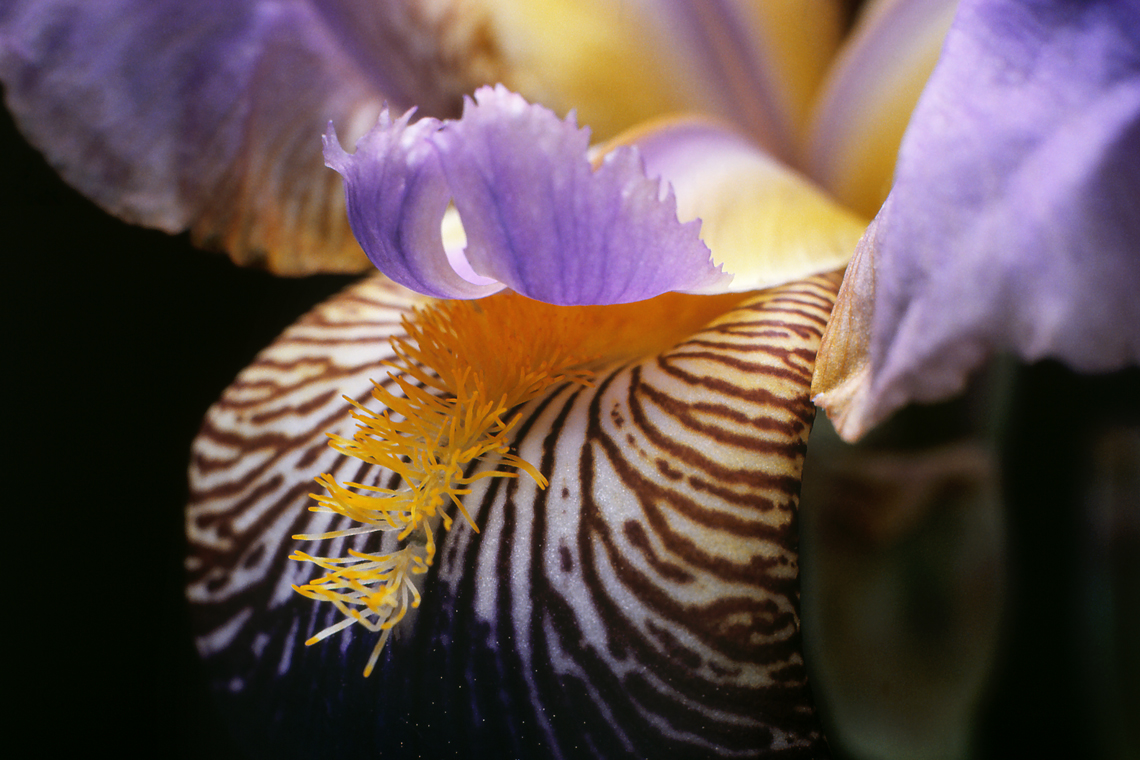
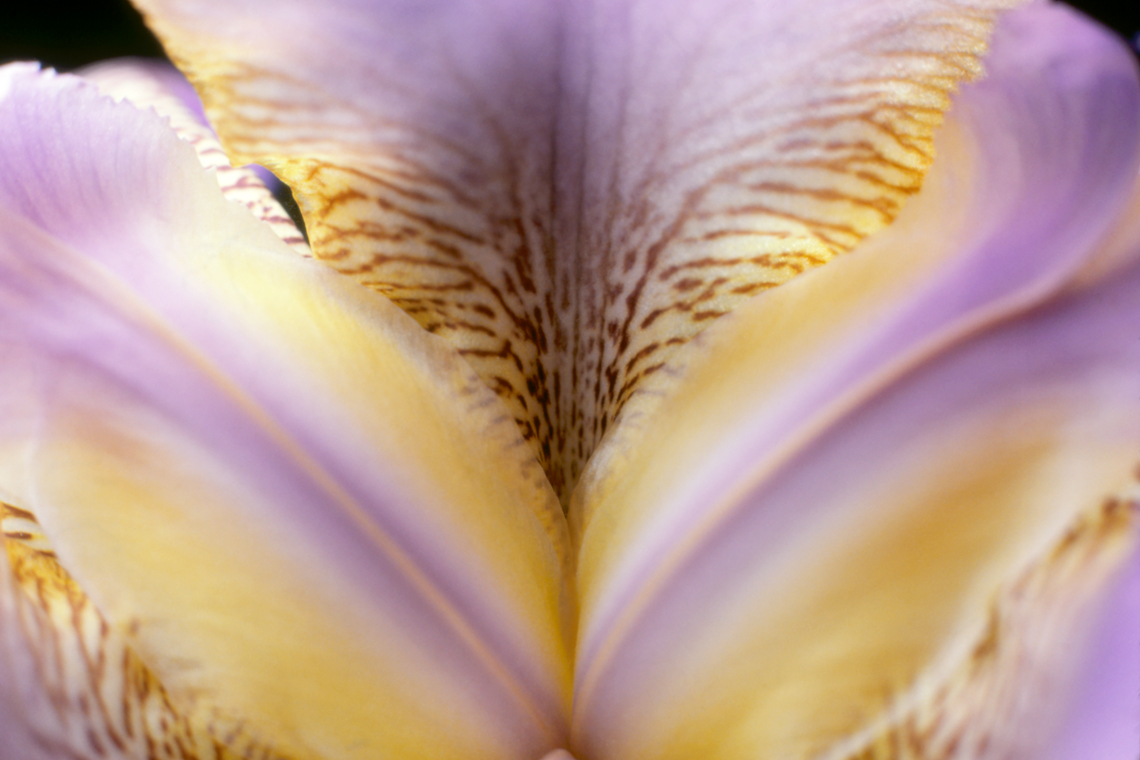
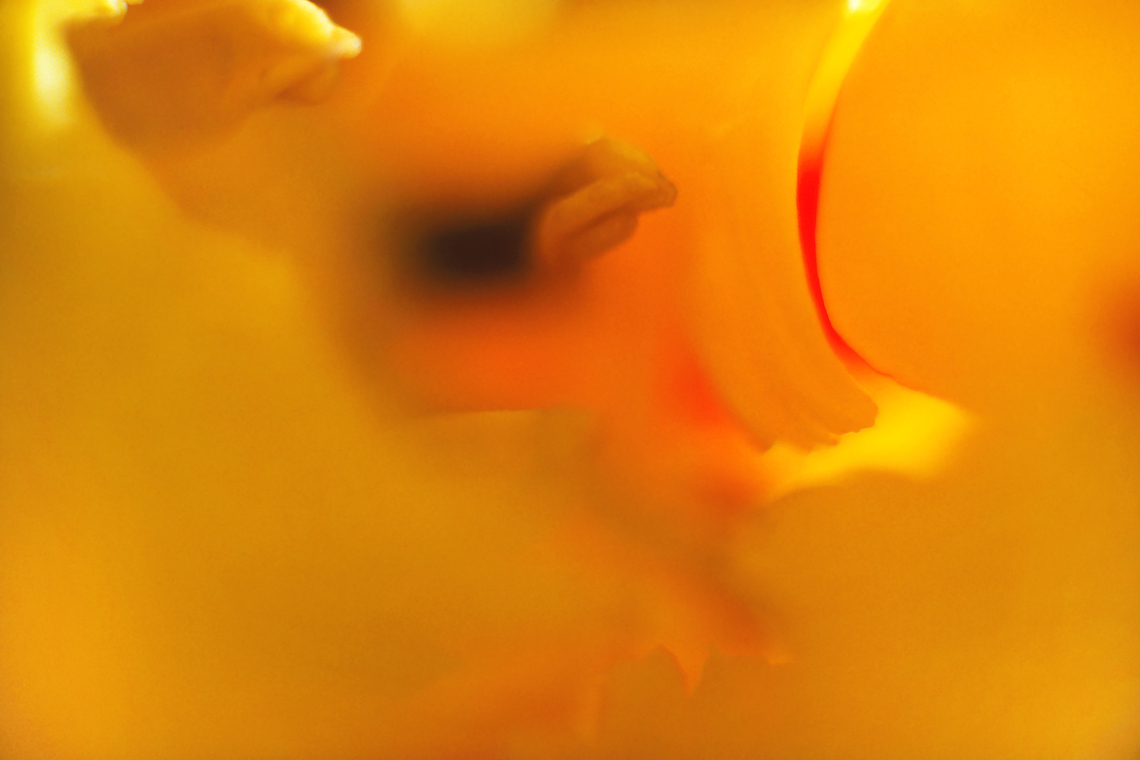
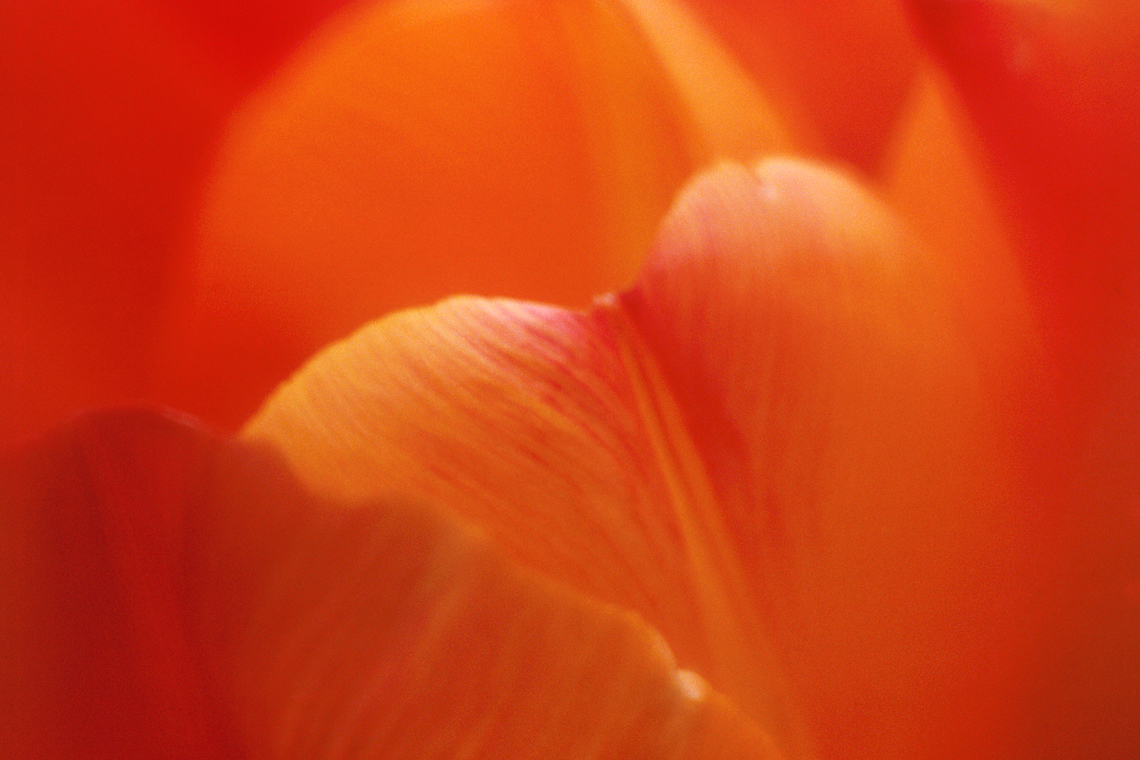
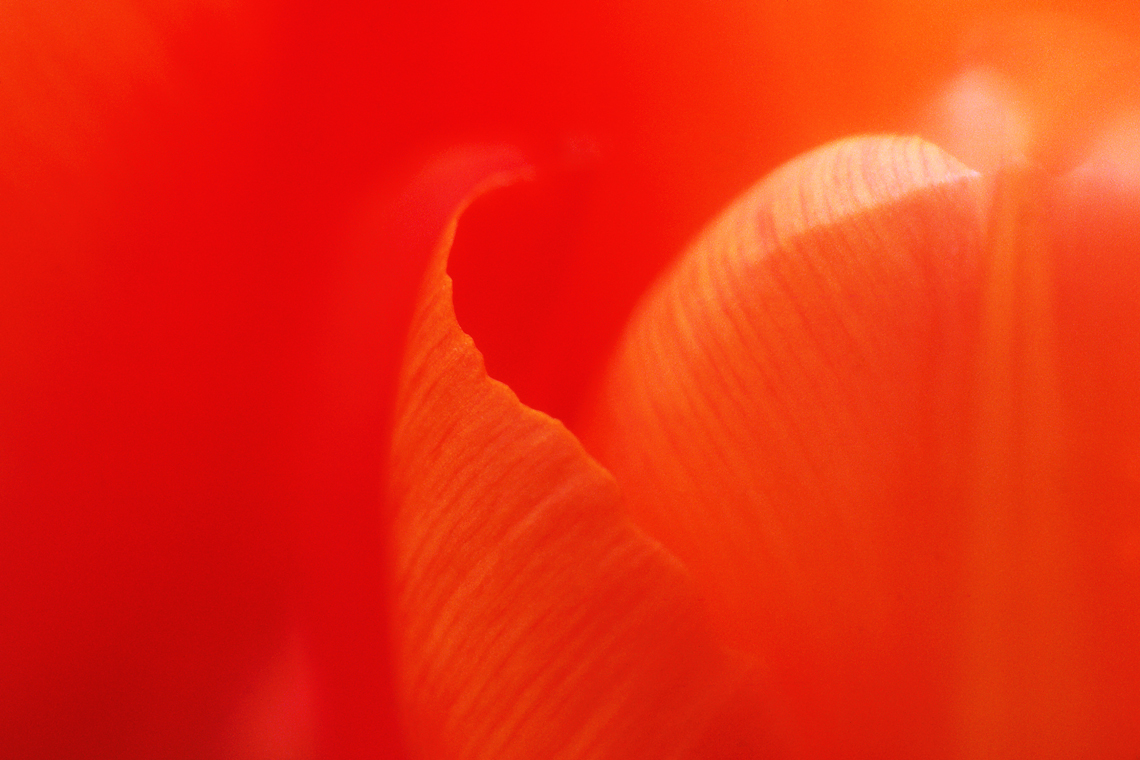
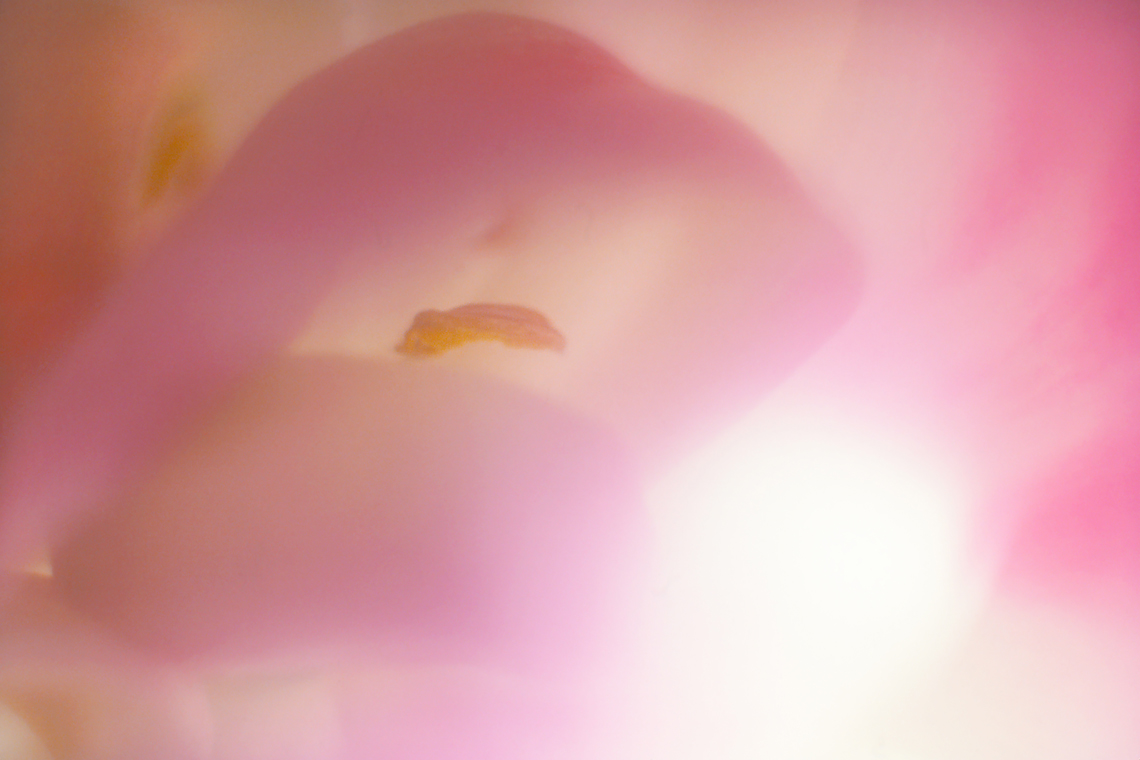
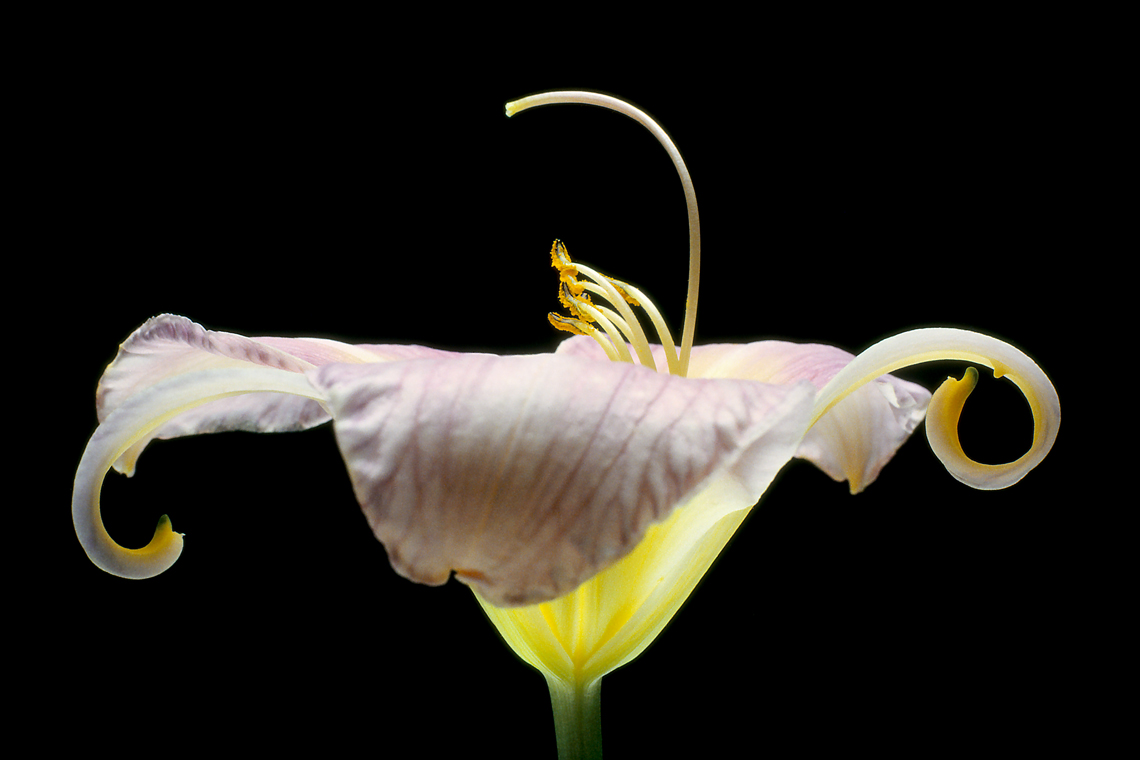
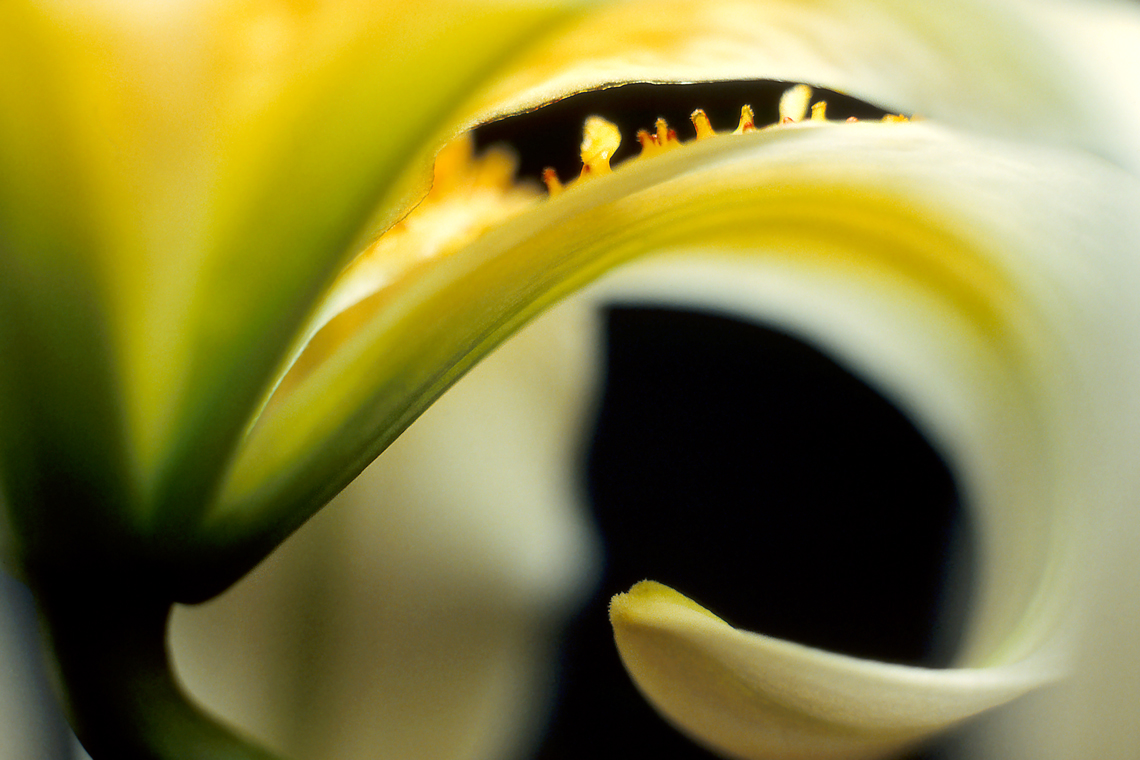
Old film negatives and slides can be given new life by converting them into digital images, and with the help of one of today’s photo editing apps faulty images can often be corrected and entirely new pictures can be created from existing ones. This gallery was created by scanning an old collection of flower photos that had been recorded on 35mm slide film.


Discussion
Film to Digital Conversion
There are a variety of ways to digitize slides and negatives. A number of online services specialize in scanning film and photos, and a selection of them are compared here at Top Ten Reviews.
A personal scanner or digital camera can also be used. A flatbed scanner was used to capture the images for this post, and for a thorough discussion on scanning visit the sites of Wayne Fulton and Norman Koren. Digitizing with a camera is explained in this PetaPixel post by Gianluca Bevacqua, and in this one by Michael Fraser.
Hardware
The 35mm cameras used to capture these images were a Konica T3 with a Hexanon AR 50mm f/1.7 lens, sometimes with extension tubes, and a Nikon FM2 with a Micro-Nikkor AI-s 200mm f/4 lens. The film was 35mm Kodachrome 25.
The scanner used was a Canon CanoScan 8800F flatbed. When it was purchase in 2013 it was one of the few in it’s price range that was capable of scanning both 35mm and medium format film. It has since been superceded by the CanoScan 9000F MKII which currently has some respectable competition from Epson scanners. Check out this buying guide from B&H Photo for more options.
Typical Scan
Original 2 x 2 in. Kodachrome slide:
Scan output:
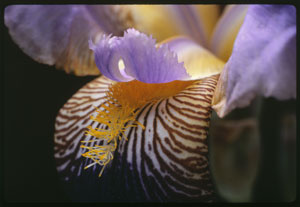
File Type: .tif
File Size: 93.9 MB
Dimensions: 6848 x 4793 pixels
Resolution: 4800 dpi
Bit Depth: 24
Dust and Scratches
One thing to be aware of when scanning images is that they will have dust spots and scratches on them that need to be removed, and it can be quite time consuming to do it manually with an image editor like Photoshop, but there’s good news and bad news about this problem. The 8800F has the capability of identifying and eliminating dust and scratches on images, but it isn’t perfect and it is still necessary to carefully inspect the image scan and remove some remaining artifacts. Sometimes the scanner misses a speck, or the corrections it makes appear as small flaws themselves. The comparison image below illustrates this problem.
It will almost always be necessary to use some form of digital post-processing dust removal, but time on the computer can be minimized by cleaning the film before scanning. It is hard to resist trying to blow it off but it’s easy to make things worse that way and it’s wiser to use a bulb blower and a camel hair brush to remove loose particles. Once you have scanned the image and still have some specks, the healing and patch tools in Photoshop do a magical cleanup job.
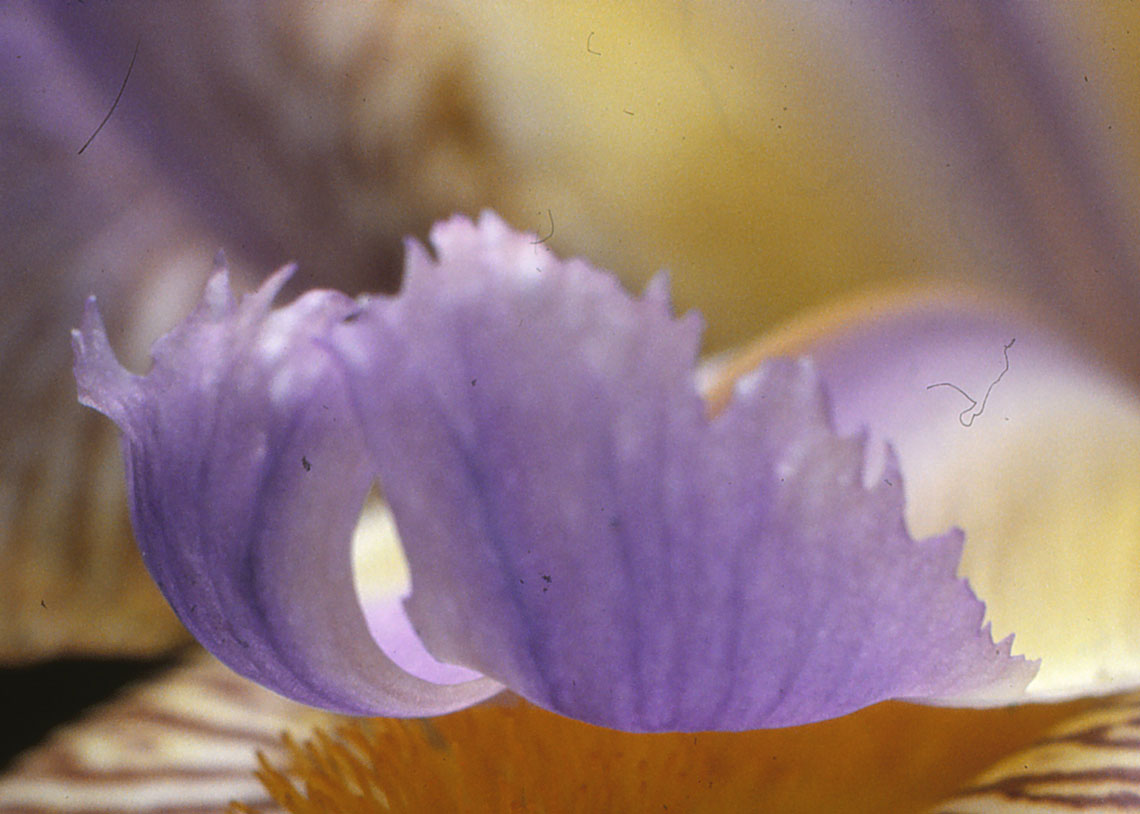

Here is the final version after dust and scratch removal and post-processing in Photoshop: